Specify Appliance
Specify Appliance
Specify is a software application for managing specimen collection for museum. Since of its inherent dependency on database management system, it is inevitable to avoid hindrance of complex installation steps when it comes to use it for the first time. iDigBio helps to reduce this burden by providing packaging all the required software in the form of virtual appliance. The Specify Appliance contains Specify software with web server and remote access software for GUI interface. Specify thin client runs a web server so that users can access Specify through web browser. The thin client is currently under active development, planning to release with Specify 7 and has only frequently used features such as data entry and query. The thick client is a full-featured Specify, meaning that there are no functional restriction. But it does require the GUI interface so that you need to access java-applet either through the web browser or VNC viewer.
Packaged software
- MySQL
- Java Runtime Environment
- Specify 6.5
- Specify Thin Client
- VNCServer
- GNOME
- Configuration Console
1. Install hypervisor
Before you run Specify appliance, you need a virtual machine player. We recommend to use VMware player if you use Windows operating system. Follow this link and download the VMware player.
- http://www.vmware.com/support/download-player
If you are Mac user and do not have a VMware fusion installed, we recommend to use VirtualBox (because it is free!). Below link introduces how to install and configuring VirtualBox on Mac.
- Installing and configuring instruction for VirtualBox(for mac)
2. Download Specify appliance
for vmware
- http://www.acis.ufl.edu/~xetron/Downloads/Specify_Appliance_v2.2_vmware.zip
for VirtualBox
- http://www.acis.ufl.edu/~xetron/Downloads/Specify_Appliance_v2.2_virtualbox.zip
3. Specify appliance usage instruction
Running specify appliance
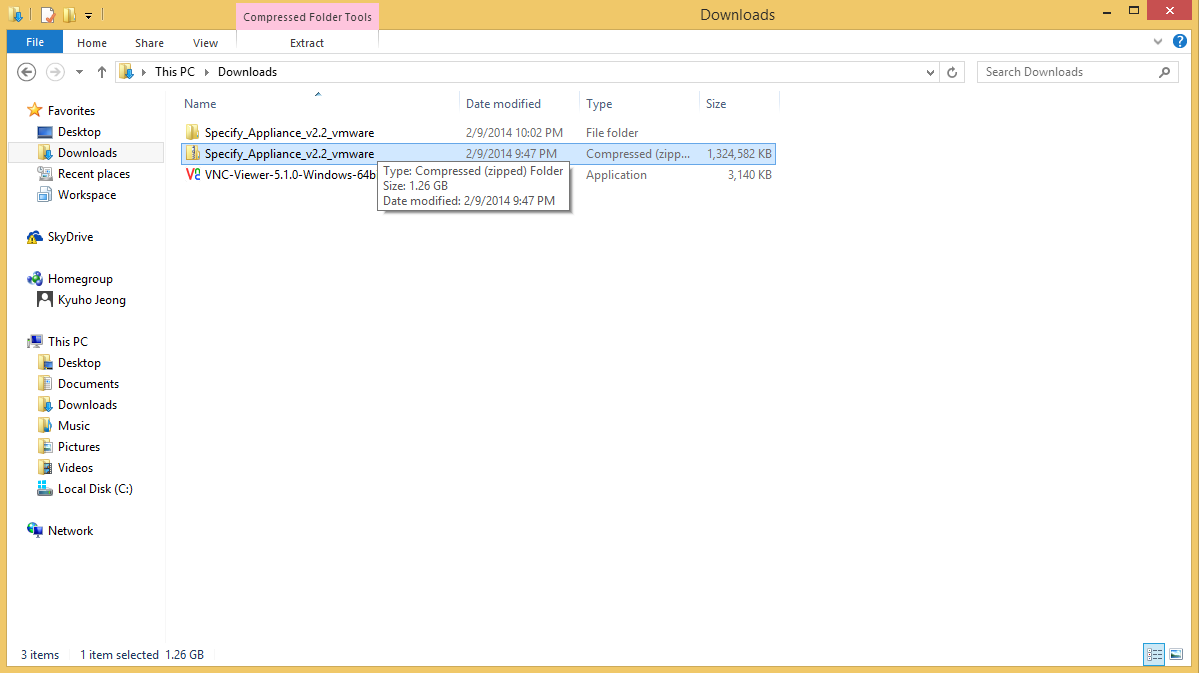
1. Extract the zip file.
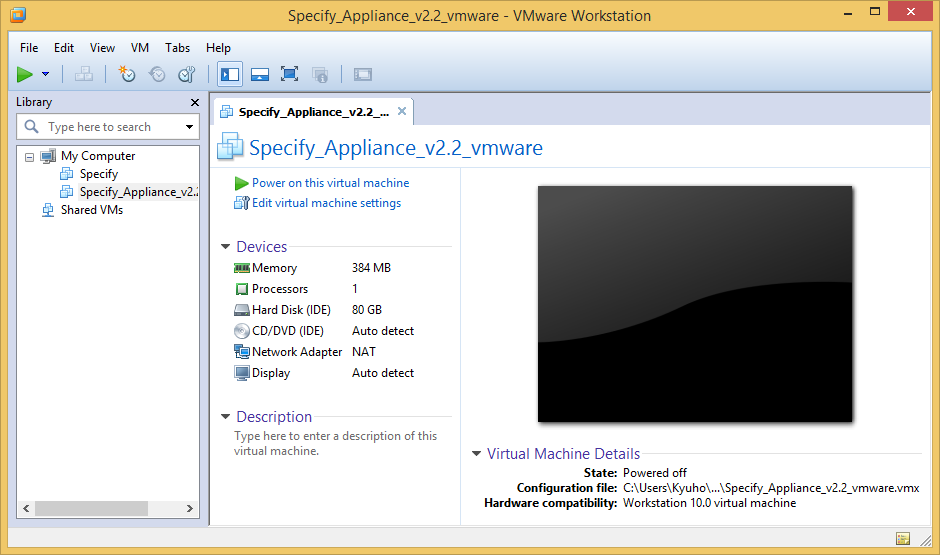
2. Enter the appliance folder and run Specify appliance by double clicking the appliance file.
3. Click the green play button
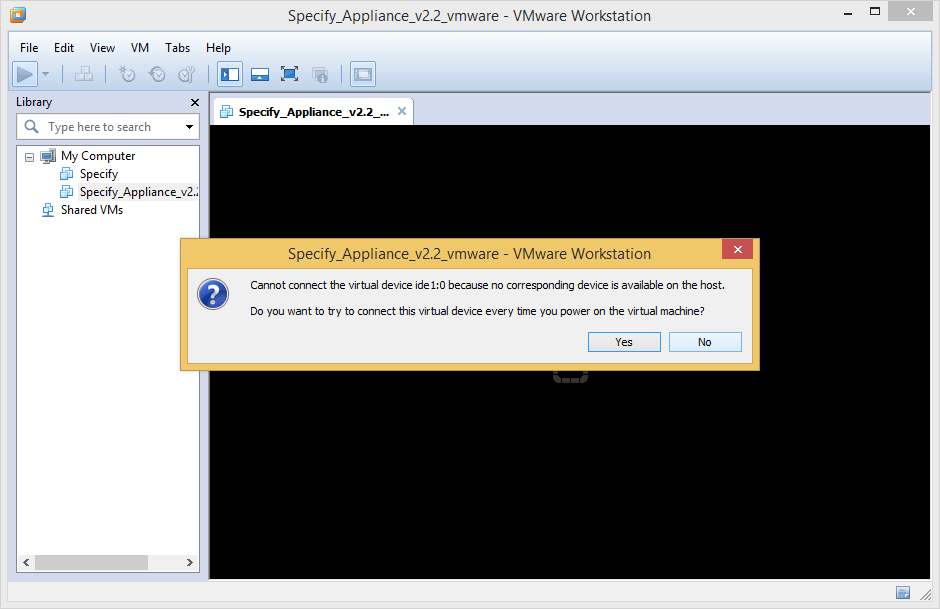
4. Some message may pop up, you can simply click "no".
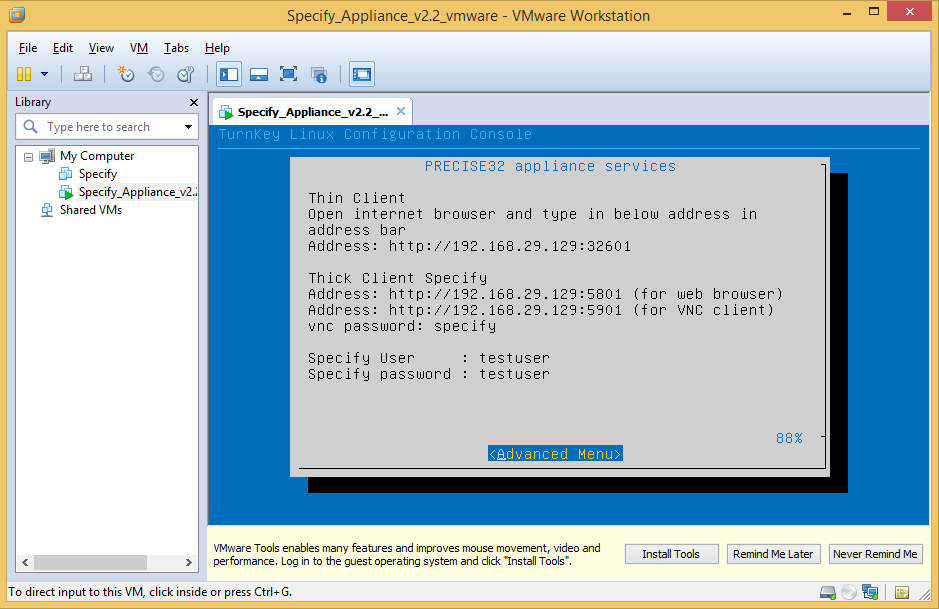
5. After the appliance boot completes, it shows several addresses.
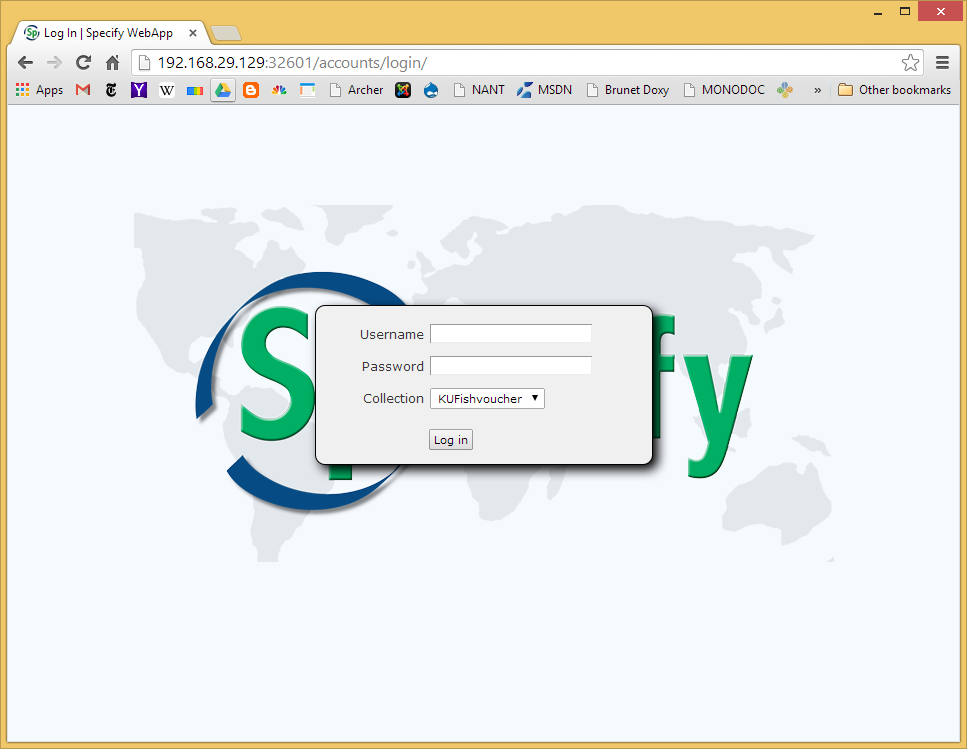
Running specify thin client
1. Type the address to the address bar in the browser.
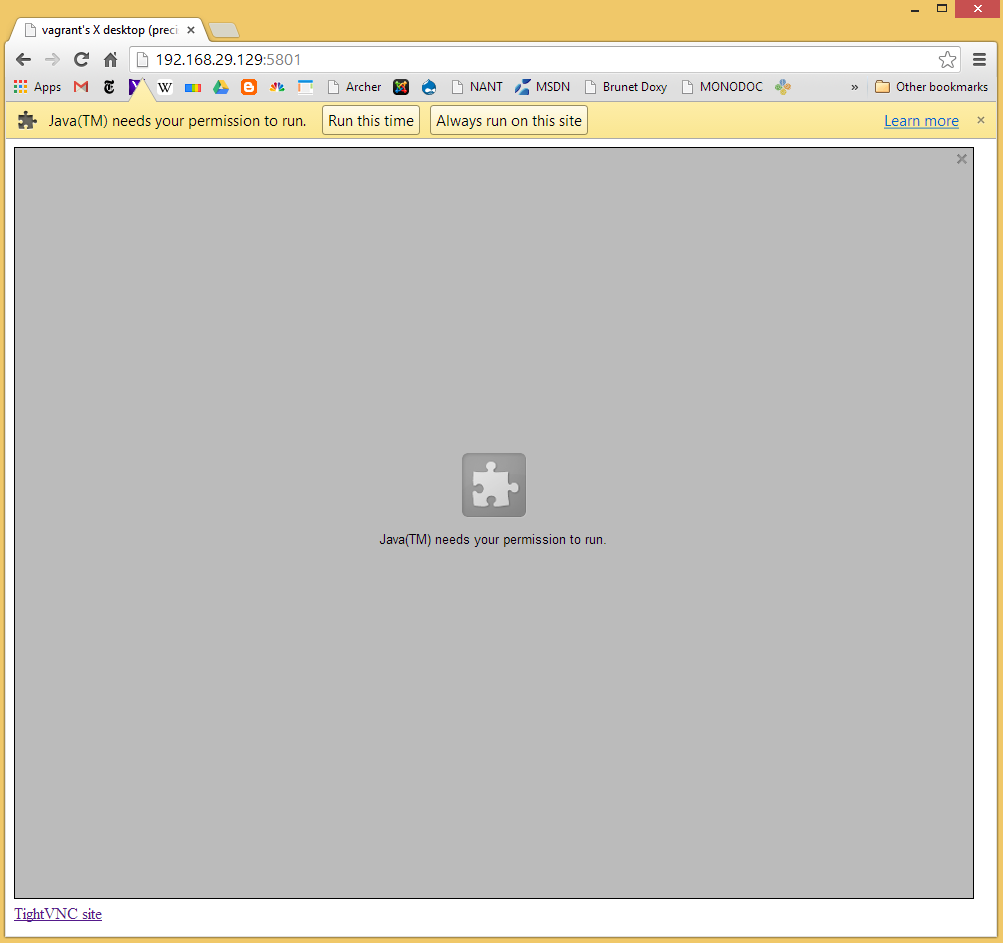
Running specify thick client through web browser
1. The browser acquire for the permission. You can click either of the permission.
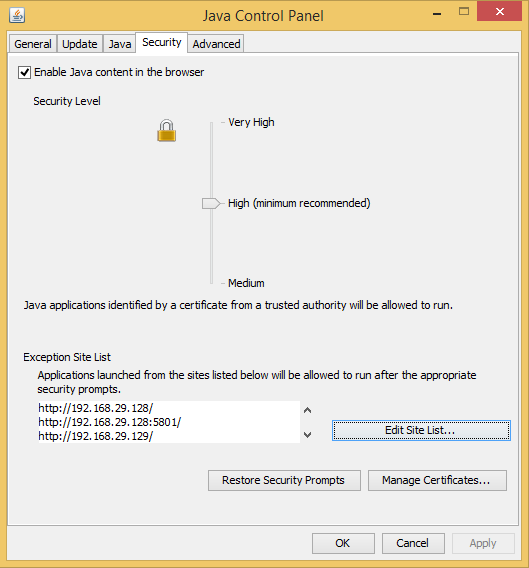
2. If a message pops up saying the security does not allow it, you need to open "Java control panel" in the control panel and add the address in the exception list.
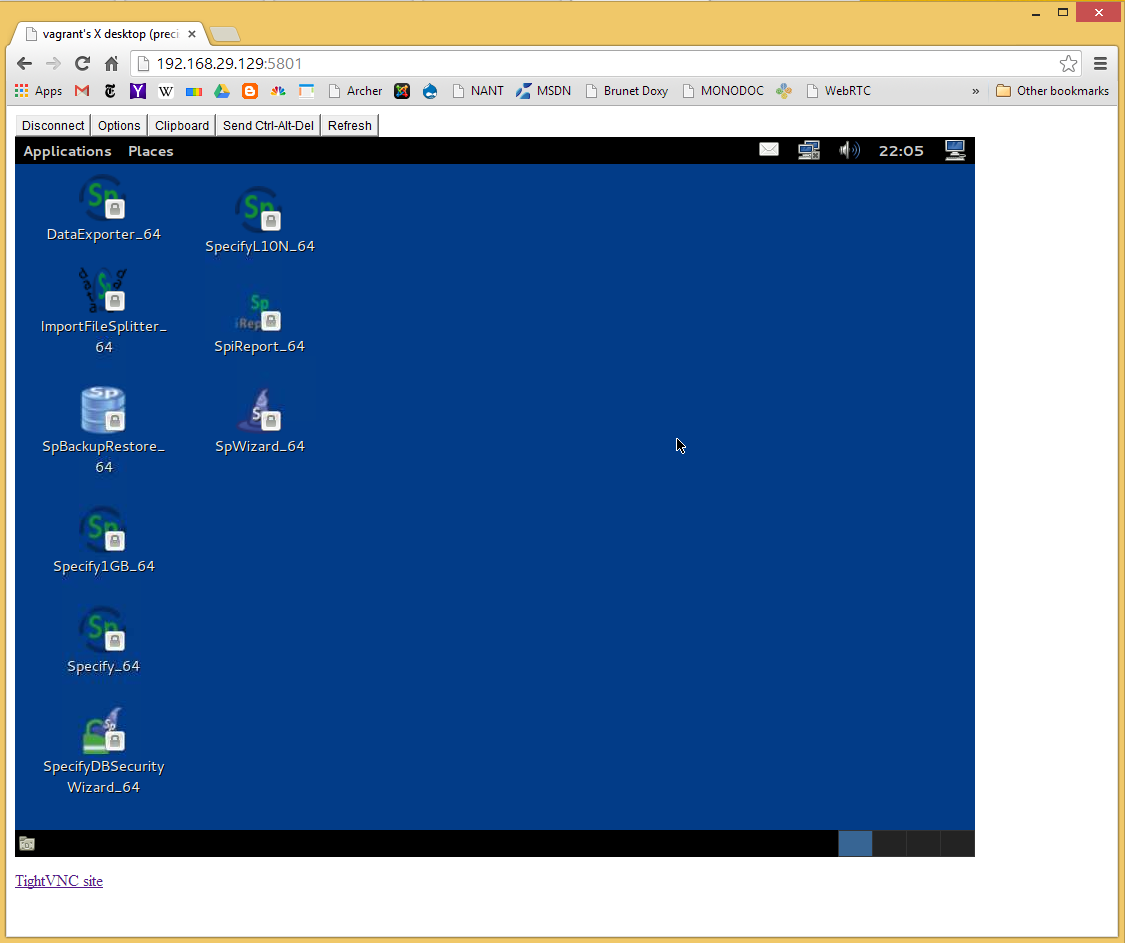
3. Enter the VNC password, the password is given in the appliance screen.
4. Now you can start Specify thick client.
Running specify thick client through VNC program
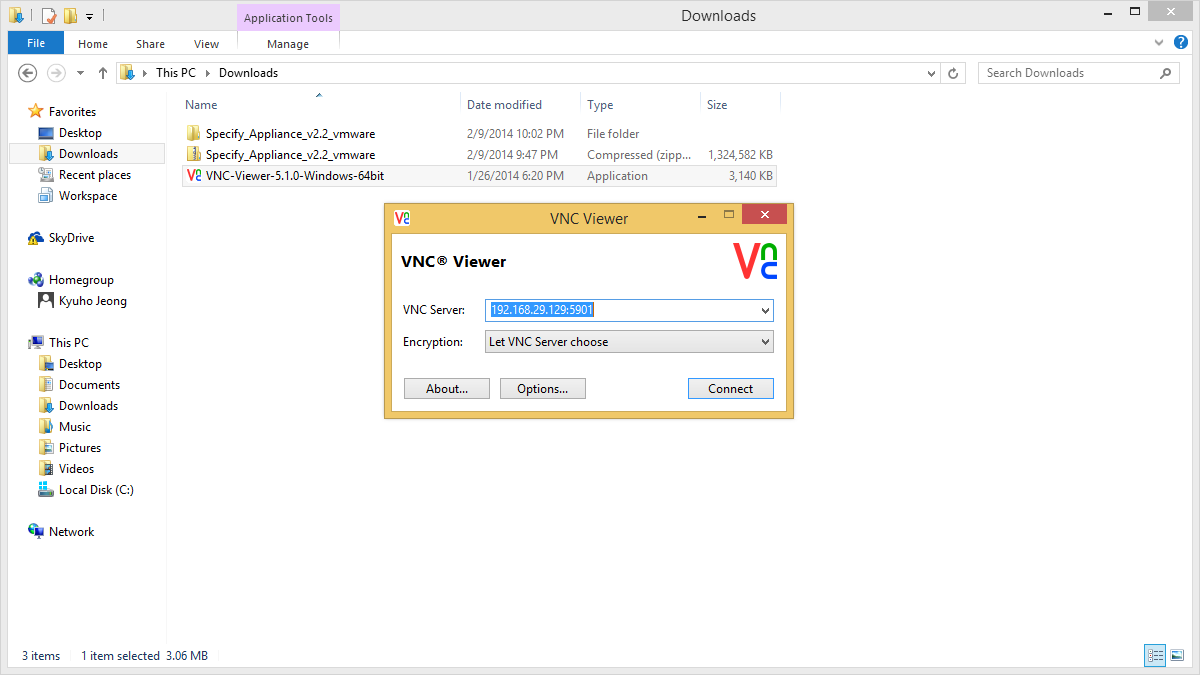
1. Download the VNC program from the below link and run it
- https://www.realvnc.com/download/
2. Enter the address and port number and connect
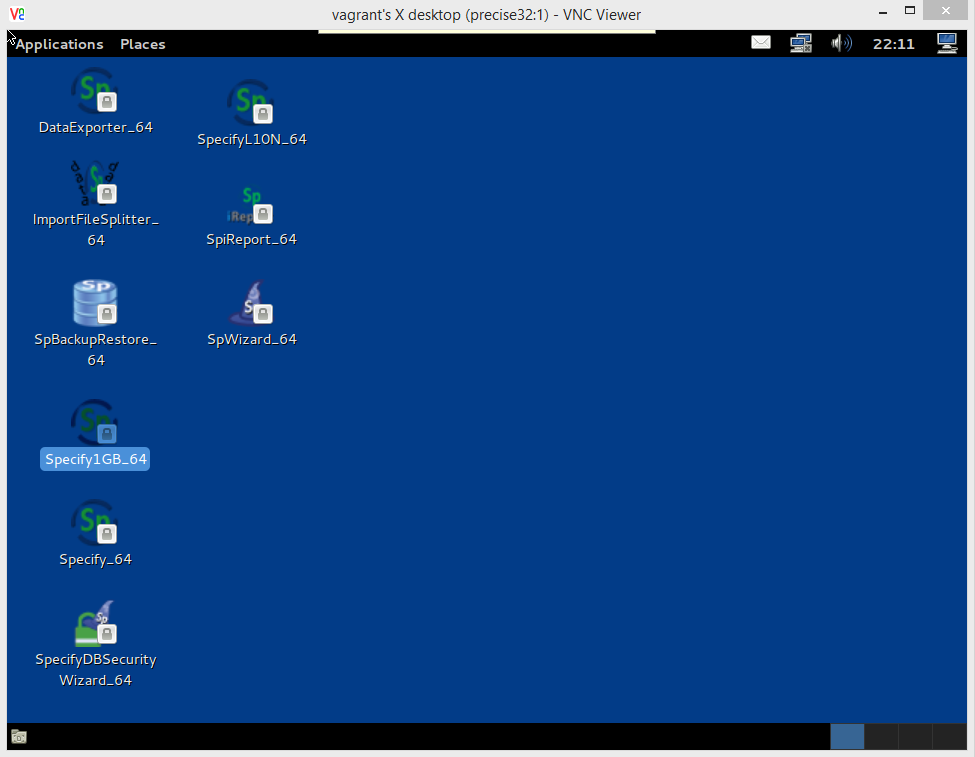
3. Double click the Specify program. The credential is given on the appliance screen.
